Introduction to digital photography for beginners

Cameras play a vital role in capturing the memories and places. Understanding and capturing photos with a camera need some patience and art. I was disappointed with my first DSLR. I just couldn’t catch what I saw through my viewfinder. I went to 2 hour training course done by Canon Academy and still I wan’t ready to follow the procedures. It took the experimentation strategy to excel my photography skills.
Choosing a camera is the initial step in the photography learning process.-There are 2 main types of compact cameras
A) Point and Shoot Camera (some have interchangeable lenses most Point & Shoot don’t have) – you can view the scene on a liquid crystal display (LCD) screen, some cameras also offer viewfinders.
B) Single Lens Reflex (SLR) – cameras with interchangeable lenses let you see the image through the lens that is attached to the camera. What you see is what you get – this feature is particularly valuable when you want to use different types of lenses.
At the point when I figured out how to function it hard and fast, I began taking some truly dynamite pictures. In this post, I will impart to you everything that I’ve gained from the mistakes made by me.
Infographic
As fledgling picture takers, we will in general be visual students. And I must make starting photography as simple as feasible for you.
So I pondered internally, “What better approach to help fledgling picture takers figure out how to utilize their cameras, than by making an infographic?” And that is actually what I did.
I teamed up with an artist companion of mine, and together we made these pictures. Coming up next are something that will make understanding exposure, and how cameras work, a mess simpler!
Look at what we thought of underneath:
How about we jump into more depth…
Exposure
For those starting photography, exposure is critical to catching an incredible picture.
Figuring out how exposure functions will assist you with taking control of your camera and take better photographs. Aperture, shutter speed, ISO are the components that join to make an exposure.
As you’ll before long learn, these components affect something other than the exposure. They likewise cause changes in depth of field, motion blur, and digital noise.
When you understand how every one functions, you can begin jumping into manual mode. This is the place you take control over from your camera.
The exposure triangle is an incredible method to recollect the three settings. At the point when consolidated, they control the measure of light caught from some random scene.
This will assist you with understanding that transforming one setting will require an adjustment in the others. That is on the off chance that you are shooting a similar scene with the equivalent definite lighting conditions.
Peruse here for all the data you need on the exposure triangle.
Aperture
Exposure occurs in three stages. We will begin with the aperture. This is the gap inside the focal point, through which the light passes.
It’s like the student of your eye: the more extensive the aperture, the more light is permitted in and the other way around. Straightforward? Not exactly.
As the aperture extends, the f/number gets lower and all the more light is permitted into the camera. This is incredible for low light yet know that it will make the depth of field extremely shallow – not perfect when taking landscapes.
So there’s a touch of compromise and I broadly expound on that in this post. The aperture is the favored setting to set first, as it straightforwardly impacts the amount of your scene is in center. In any case, in the event that you are hoping to make motion blur, at that point it is underdog to the shutter speed.
Exposure will be a lot simpler on the off chance that you can retain the f/stop scale.
The scale is as per the following: f/1.4, f/2, f/2.8, f/4, f/5.6, f/8, f/11, f/16, f/22.
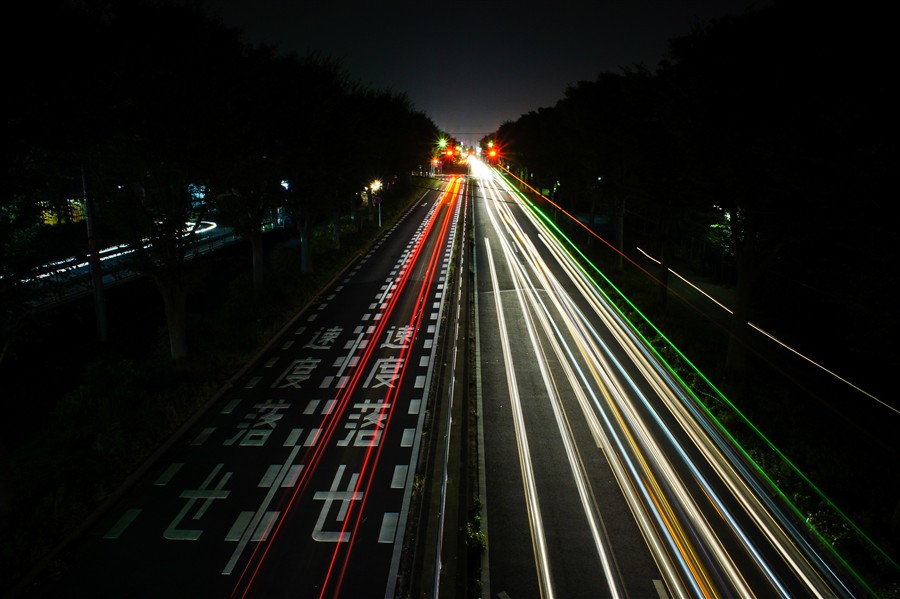
Shutter Speed
When the light has gone through the aperture of the focal point, it arrives at the shutter. Presently you have to choose the amount of that light you will permit into the camera.
Normally, you just need an extremely little portion of a second (for instance 1/250) to forestall motion blur. In any case, extraordinary shutter speeds supplement various circumstances.
Anything from truly quick (1/4000) for sports photography to truly slow (30 seconds) for night photography. Everything relies upon what you’re shooting and how much light you have accessible to you.
Knowing how your shutter speed functions is a key component in the essentials of photography.
ISO
When the light has gone through the aperture and been sifted by the shutter speed, it arrives at the sensor. This is the place we conclude how to set the ISO.
As you turn the ISO number up, you increment the exposure. Be that as it may, simultaneously, the picture quality reductions. There will be increasingly digital noise or “grain”.
So you need to choose your needs as far as exposure versus grain.
For instance, I would decrease the picture quality on the off chance that it implied that I could forestall motion blur in my photograph. There’s no conceivable method to fix that in after creation (yet, at any rate).
Exposure Summary
When you’ve gotten aperture, shutter speed and ISO, you have to figure out how every one of these components of exposure cooperate.
For each one of those nuts and bolts of photography, exposure is the most significant.
On the off chance that you don’t have this down, composition and surrounding become a debatable issue in fledgling photography.
In this post, you will find out about the ‘stop’ based framework for estimating exposure. In any case, more critically, how to organize the aperture, shutter speed, and ISO for the best photograph.
Understanding Your Camera
Metering Modes
Digital photography for apprentices can be confounding. Exposure isn’t as straightforward as finding out about aperture, shutter speed, and ISO. You likewise need to find out about how your camera takes a gander at light.
Metering modes are there to tell your camera how you need it to take a gander at a scene.
The photograph beneath was taken on spot metering mode at the same time, if you somehow happened to take a similar photograph utilizing evaluative mode, you would wind up with a totally unique exposure.
This is likewise canvassed in my free video preparing. In case you’re searching for an article that clarifies digital, including Canon, metering modes, here it is.
Understanding this fundamental photography point may simply be the way to understanding why your photographs are coming out underexposed or overexposed.
Histograms
The histogram shows you a numerical survey of an exposure after the photograph has been taken. It basically reveals to you how uniformly uncovered a photograph is.
LCD screens aren’t truly adept at giving you this data through their presentation of the picture. This is on the grounds that they are influenced by the surrounding lighting conditions you’re in and the brilliance of the screen itself.
That is the reason the histogram is such an incredible asset to use in starting photography effectively.
Shooting Modes
Full-Auto, Program, Aperture Priority, Shutter Speed Priority or Manual Mode. How accomplish you work out which one you ought to utilize?
There’s likewise a great deal of misguided judgments about which mode to use under which conditions. On a great deal of predisposition towards not utilizing manual mode.
At the point when you understand what precisely every mode does, the one that will be appropriate for your circumstance turns into a ton more clear. This is additionally canvassed in my free video preparing.
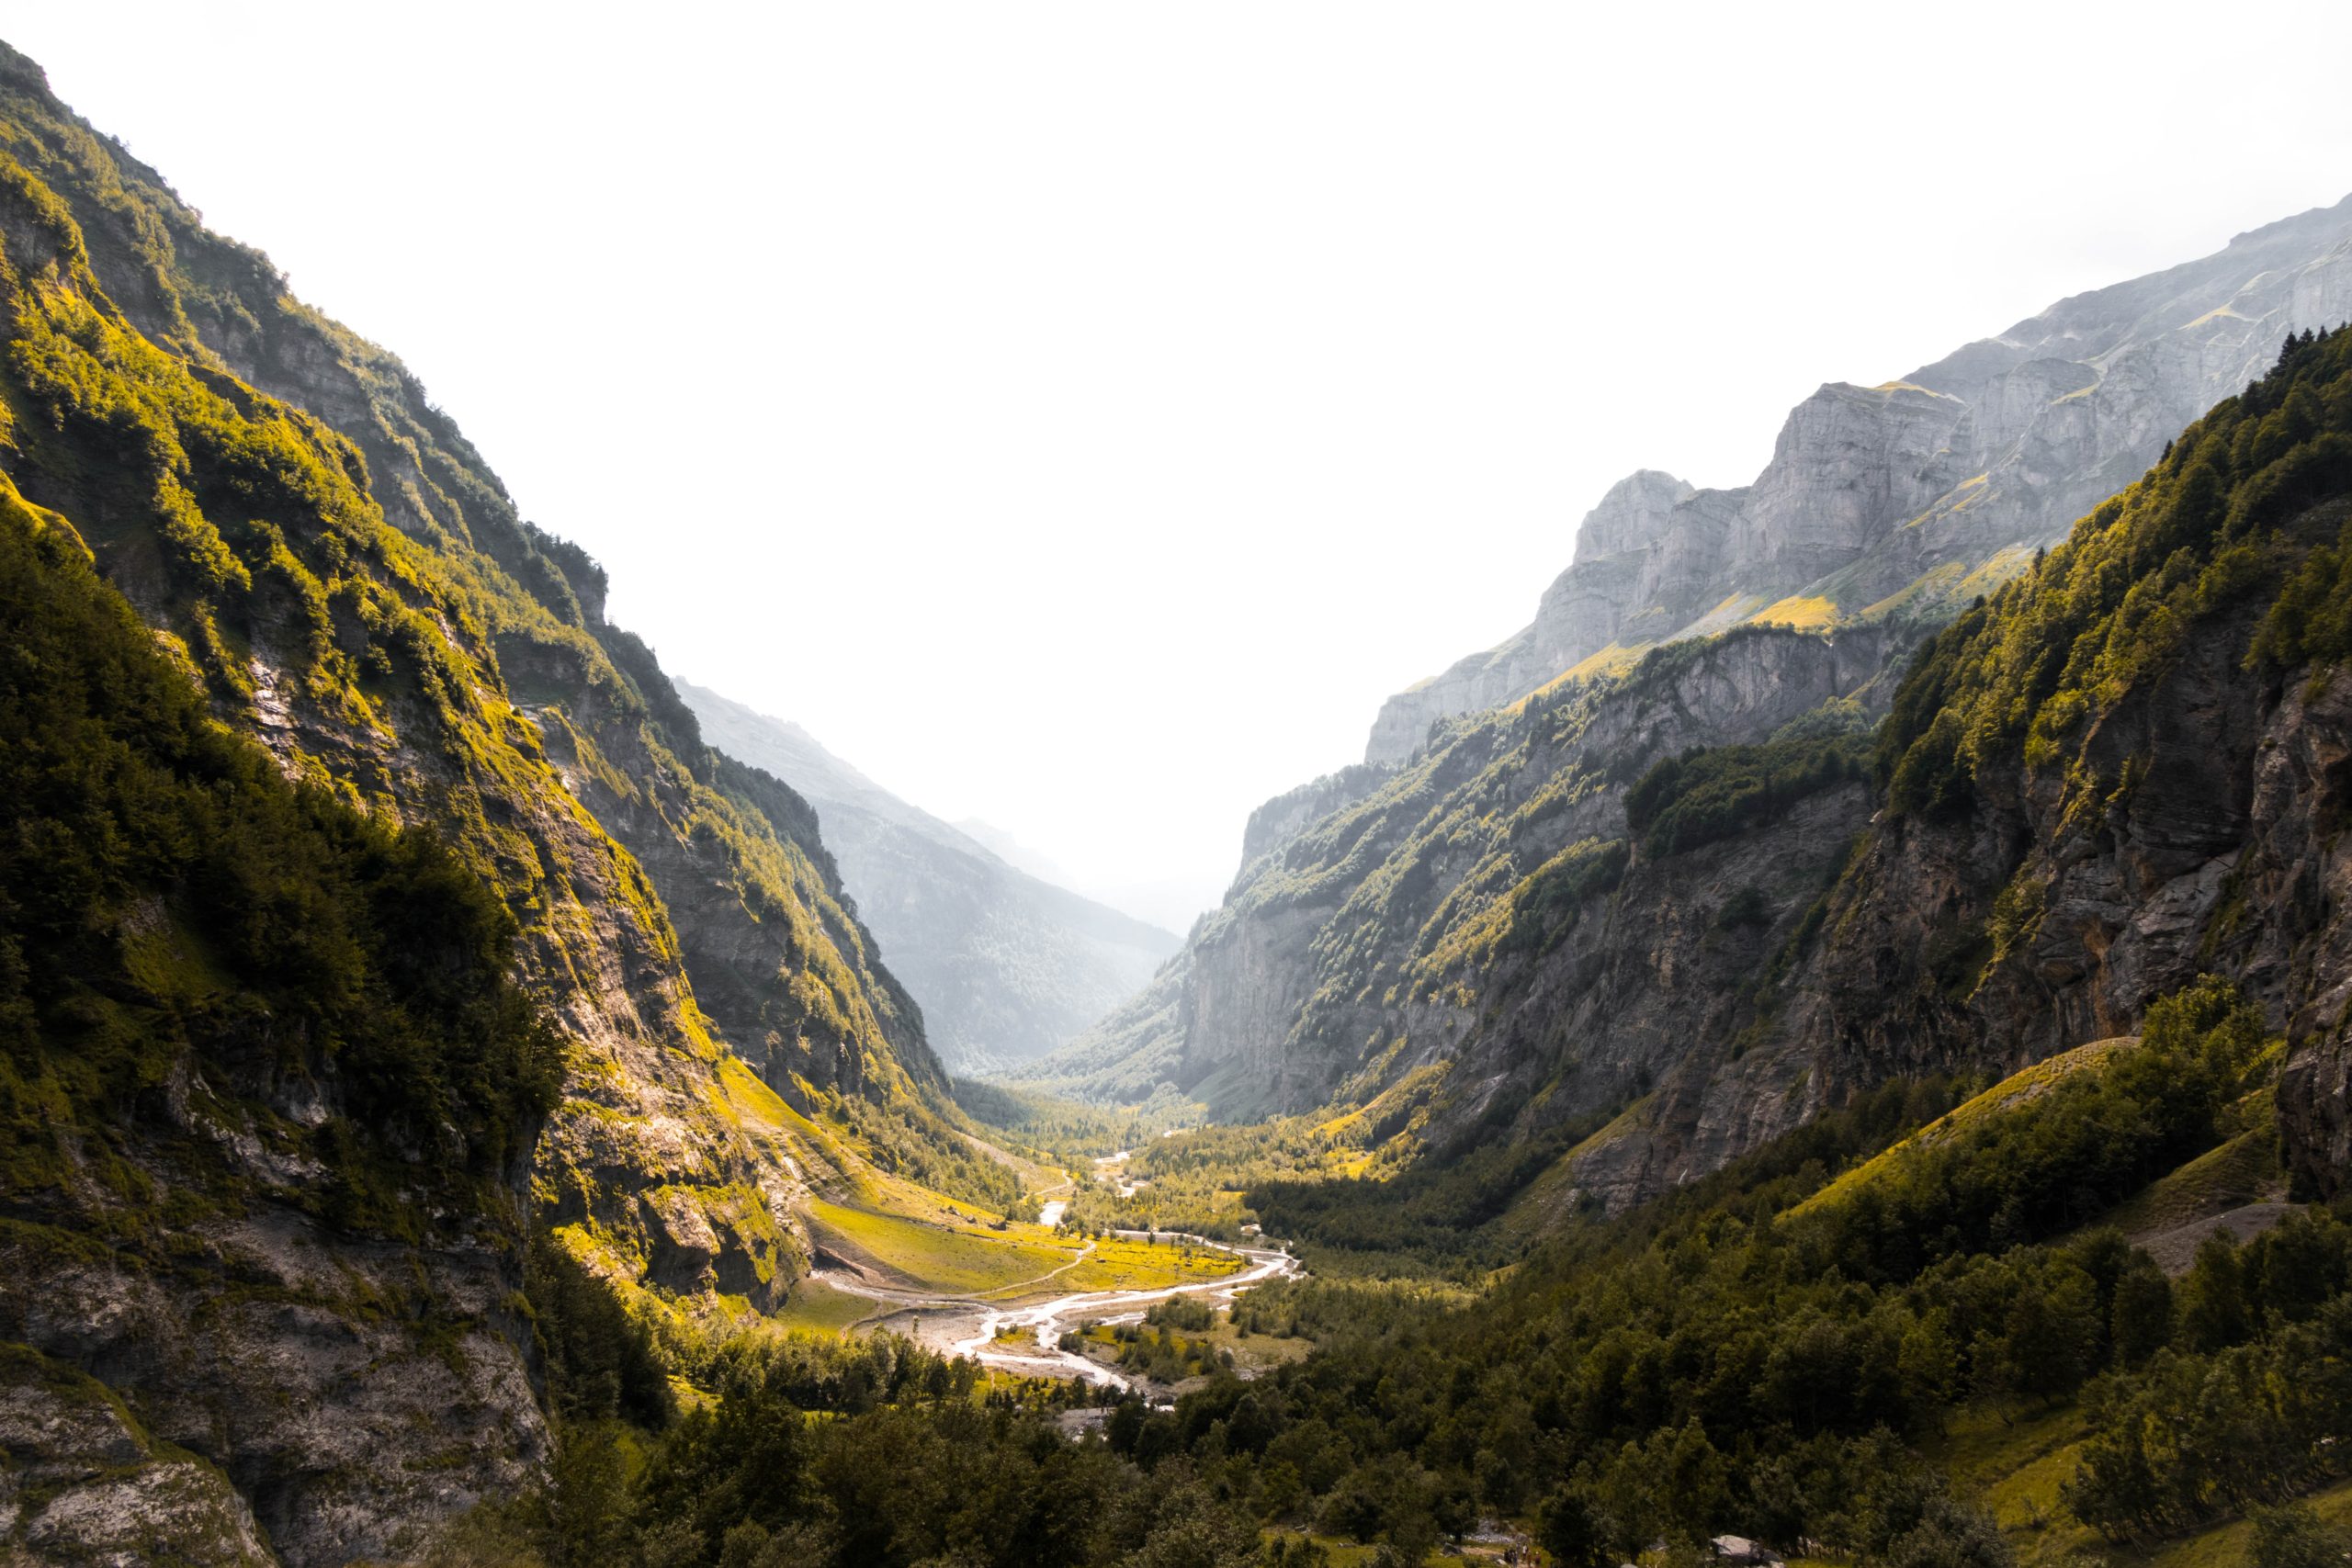
Depth of Field
At the point when you’re shooting in low light, you constantly need to augment your aperture to permit enough light into the focal point. Be that as it may, this has one rather a significant reaction. A shallow depth of field.
This can be utilized innovatively (often to abundance) yet it’s not by any means the only chance. There are numerous circumstances, for example, landscapes, where you’ll need to utilize a smaller aperture with the goal that the entire scene stays in center.
This instructional exercise strolls you through all that you have to think about picking the correct aperture (and consequently the depth of field) for the correct circumstance.
With regards to covering the entirety of the fundamentals of photography, profundity of field is significant. So that’s a brief introduction to digital photography for beginners.